For this instalment of the blog, I wanted to share something a bit more personal. It’s about how I first got into outdoor instructing, the years spent learning across different mountain environments, and the journey that eventually led me to becoming MCI qualified. It’s less about the qualification itself, and more about the experience, time, and commitment in the mountains that sits behind it.
For me, becoming an MCI wasn’t about collecting badges. It was about taking all the skills, knowledge, and experience I’d built over years in the mountains and turning them into a professional standard I could rely on for myself and anyone I guide.

Turning Passion Into Responsibility
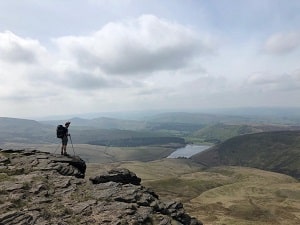
Like most people who end up working in the mountains, I spent as much time outside as possible, climbing, walking, and learning in a wide range of conditions. Over time, that passion evolved into a desire to lead and teach others safely, which meant committing fully to the qualification pathway.
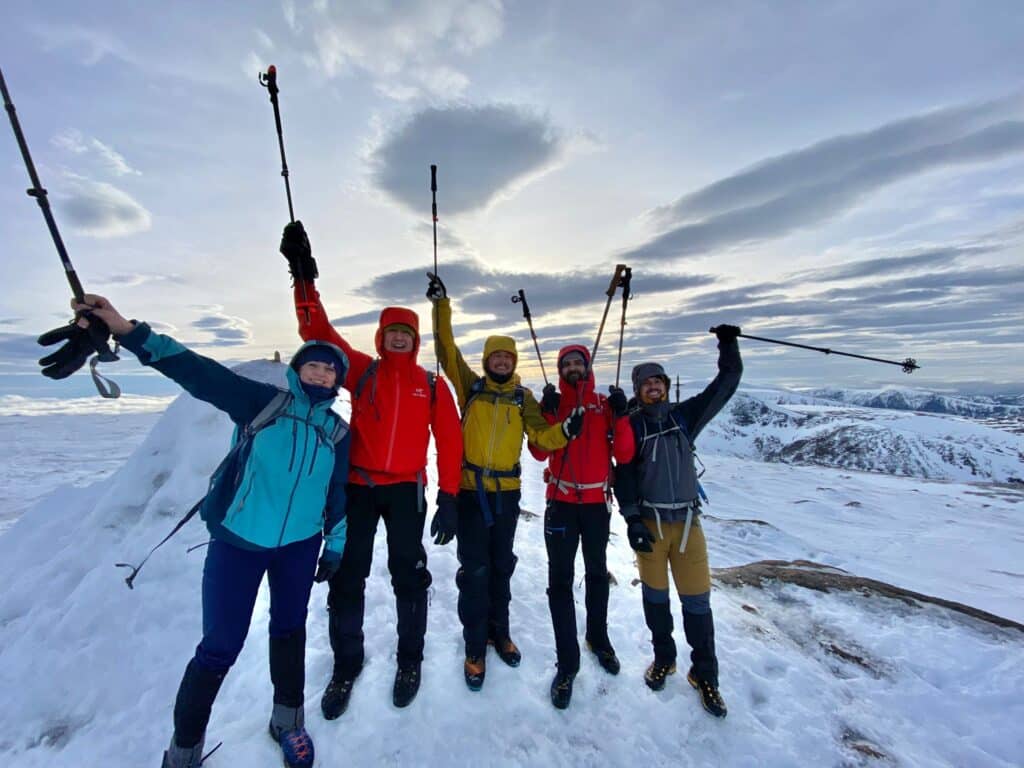
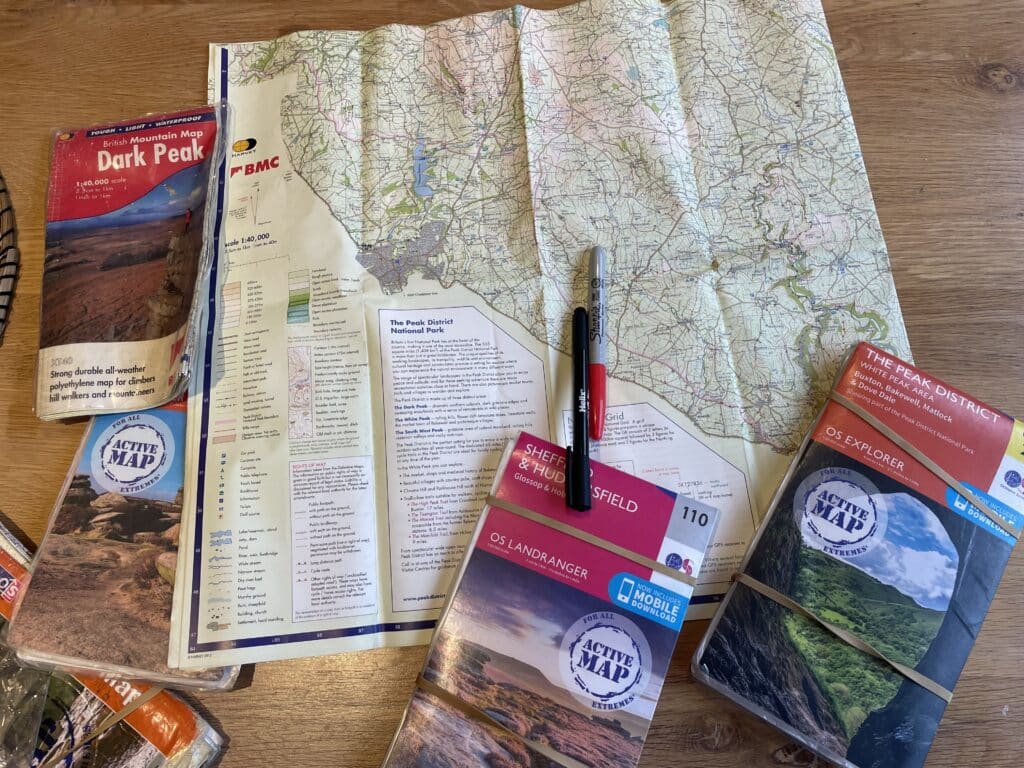
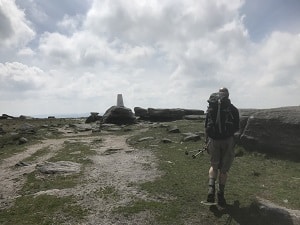
The journey began with becoming a Mountain Leader. This taught me how to look after people on long days, in challenging conditions, and across complex terrain. It wasn’t just about knowing the route, it was about planning, observing, and reacting when things didn’t go to plan.
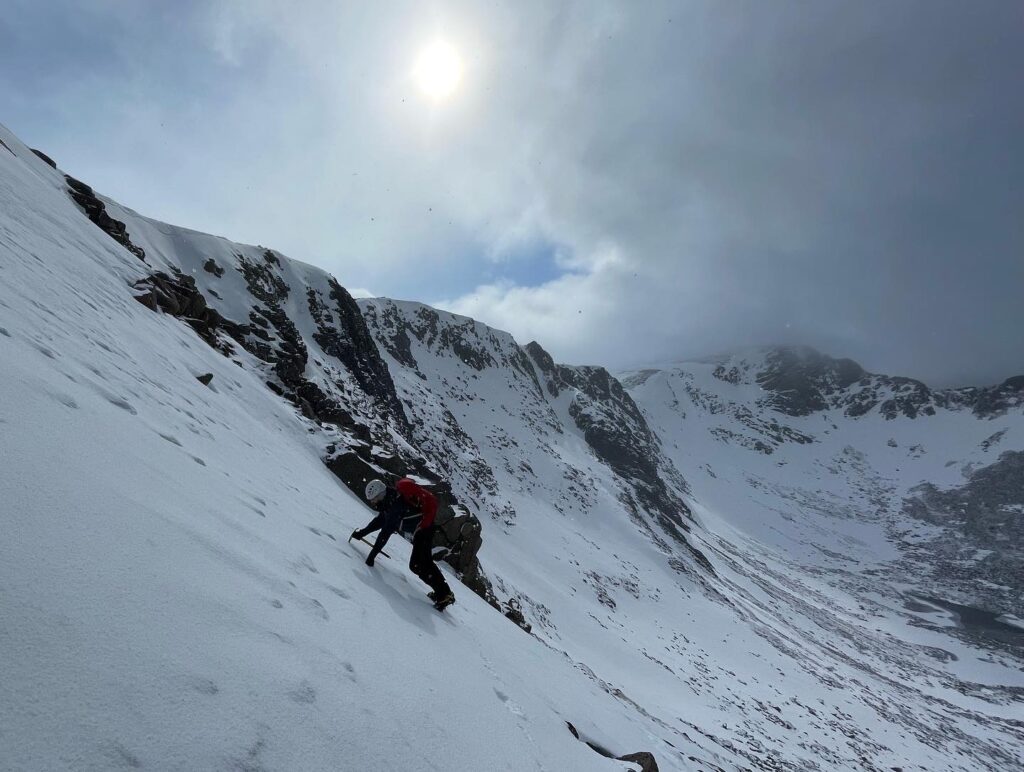
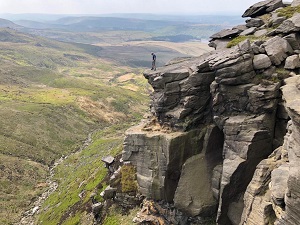
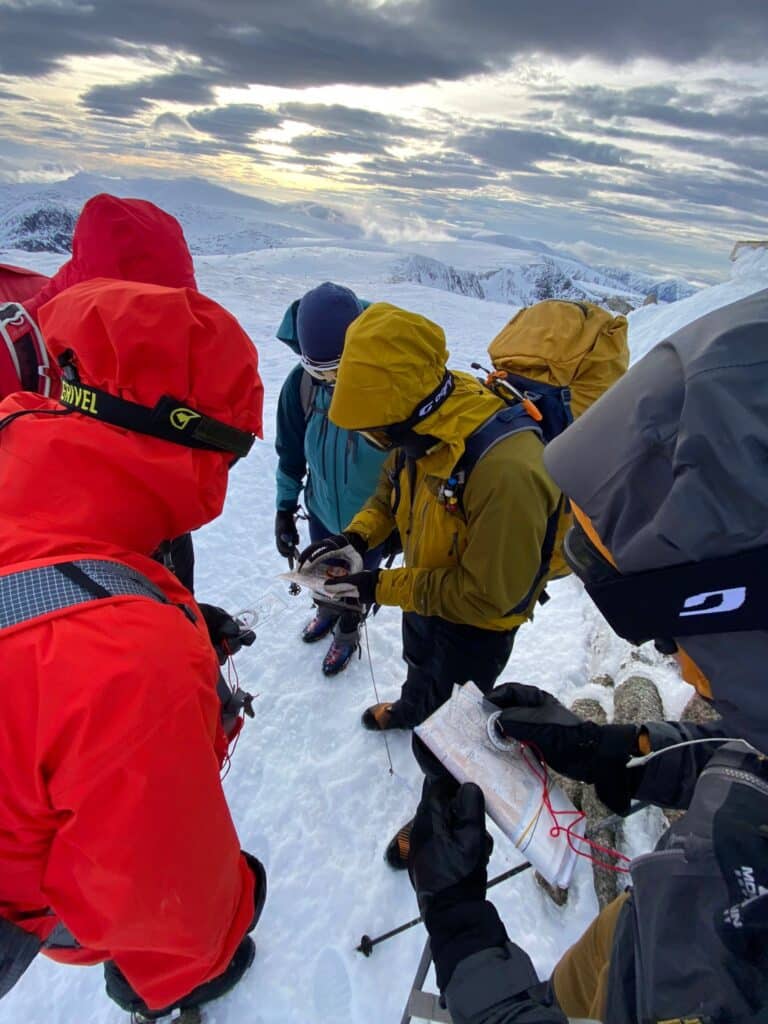
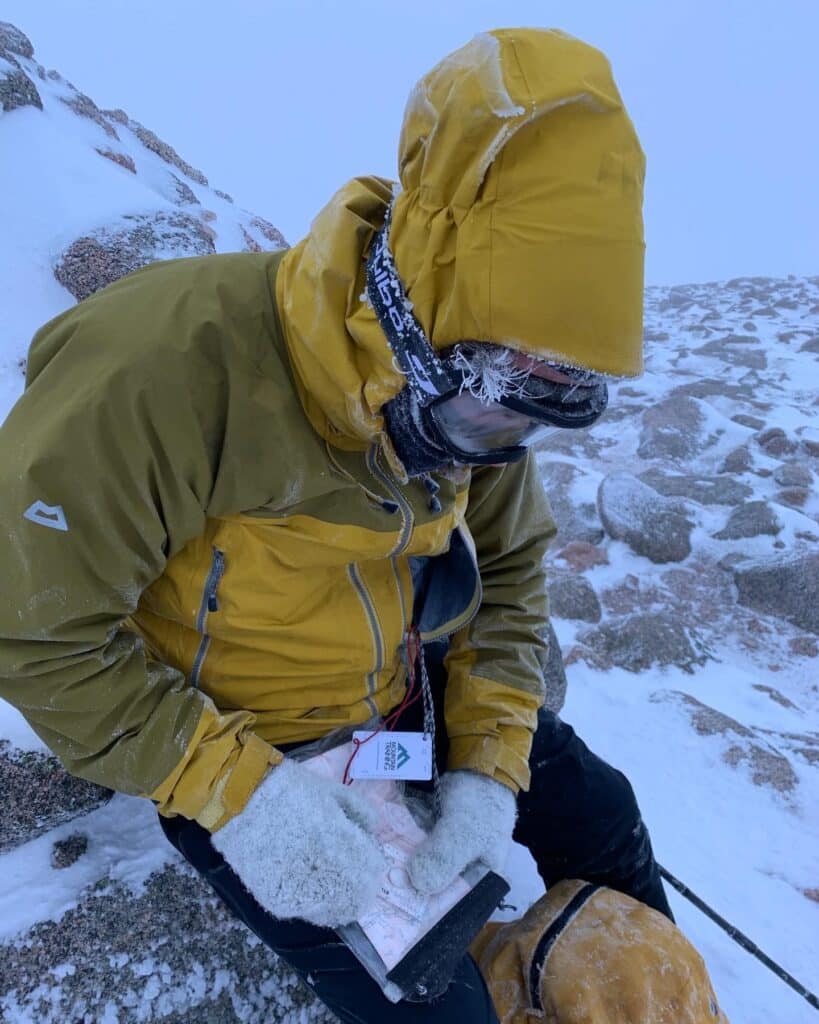
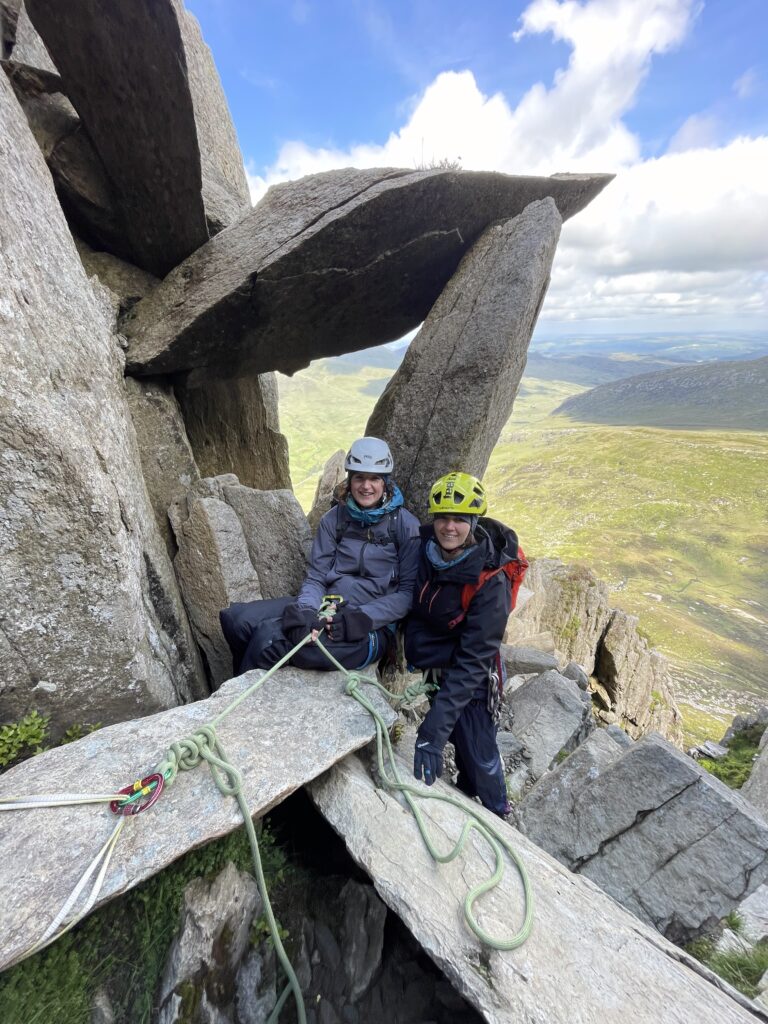
From there, I moved into rock climbing instruction, gaining experience in rope systems, technical climbing, and how to operate effectively in steep and exposed terrain. Winter conditions followed, with weeks and months spent in Scotland, the Lake District, and Wales. Harsh weather, demanding terrain and teaching the use of ice axes and crampons taught me how critical judgement and planning are, and that strength alone is never enough.

Experience You Can Trust
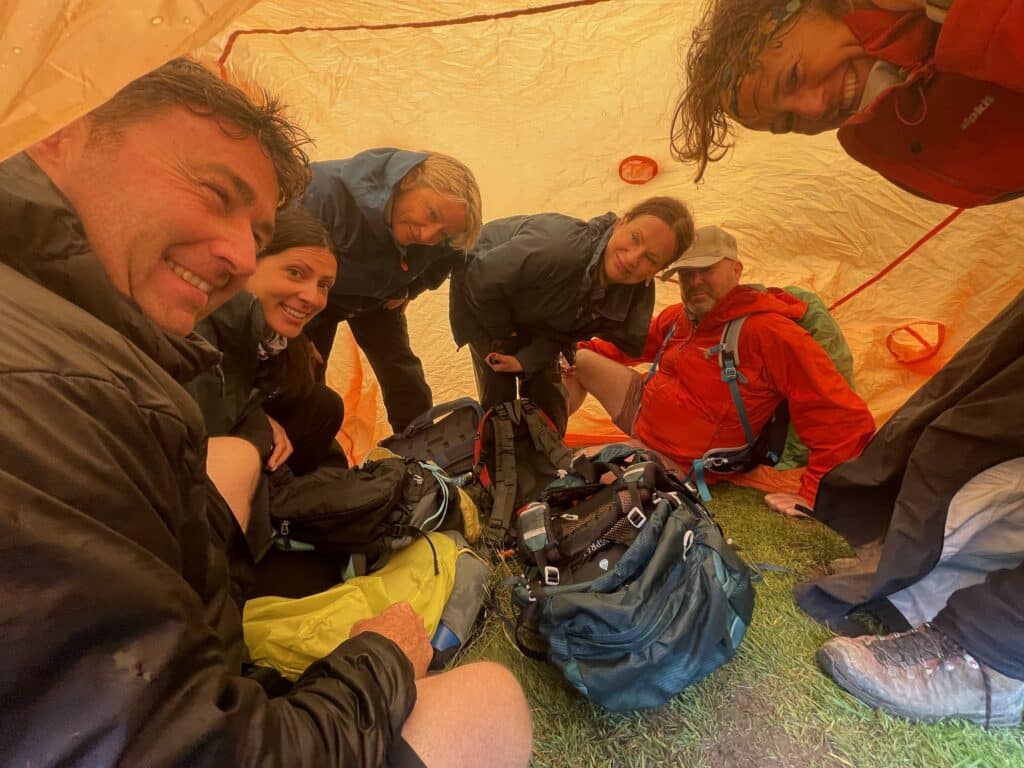
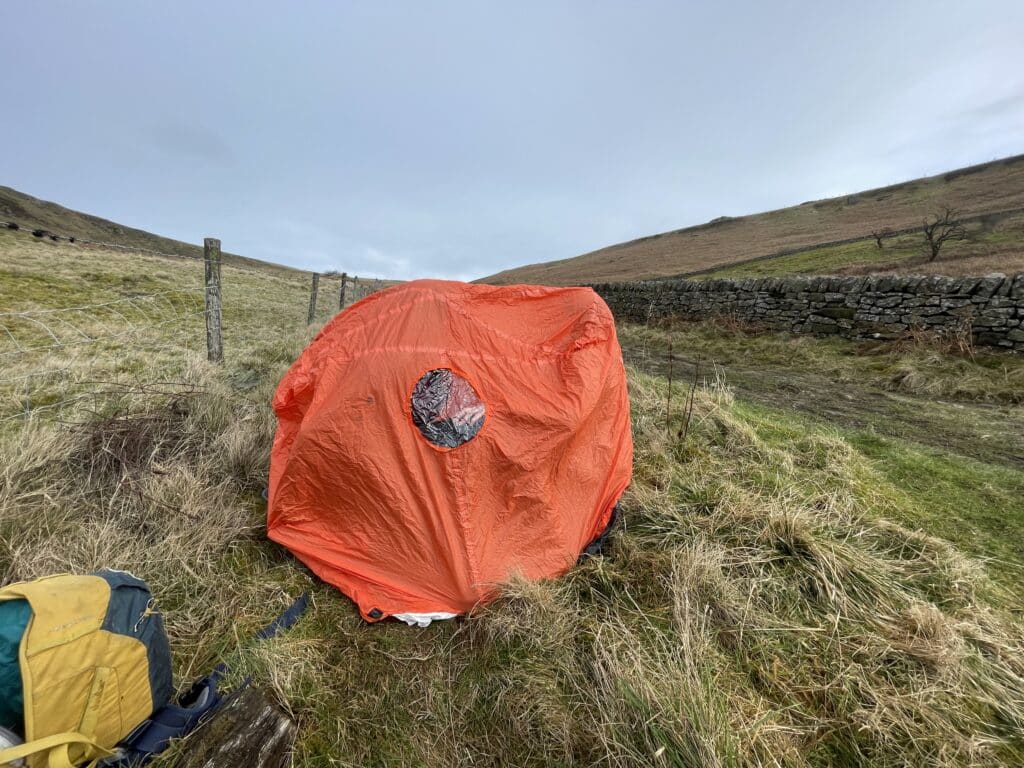
Alongside instructing, I became involved with Edale Mountain Rescue. Mountain Rescue showed me how small decisions can have serious consequences, and how important teamwork, observation, and calm thinking are when things go wrong.
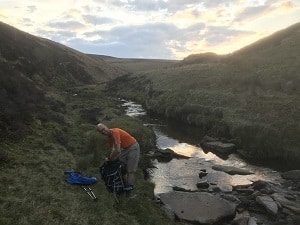
MCI preparation also included less obvious work. Practising rescue systems at home, running mock rescues from trees in the back garden, and travelling across the UK from sea cliffs in Wales to remote mountain crags helped me gain practical experience in many environments.
The MCI Assessment
The MCI assessment is notoriously challenging, with around 80 percent of candidates not passing first time. I spent just under two years consolidating my experience and preparing carefully. The assessment tested leadership, technical skill, and decision-making under pressure. Passing first time confirmed that, the way I worked in the mountains could withstand close scrutiny.
What MCI Represents
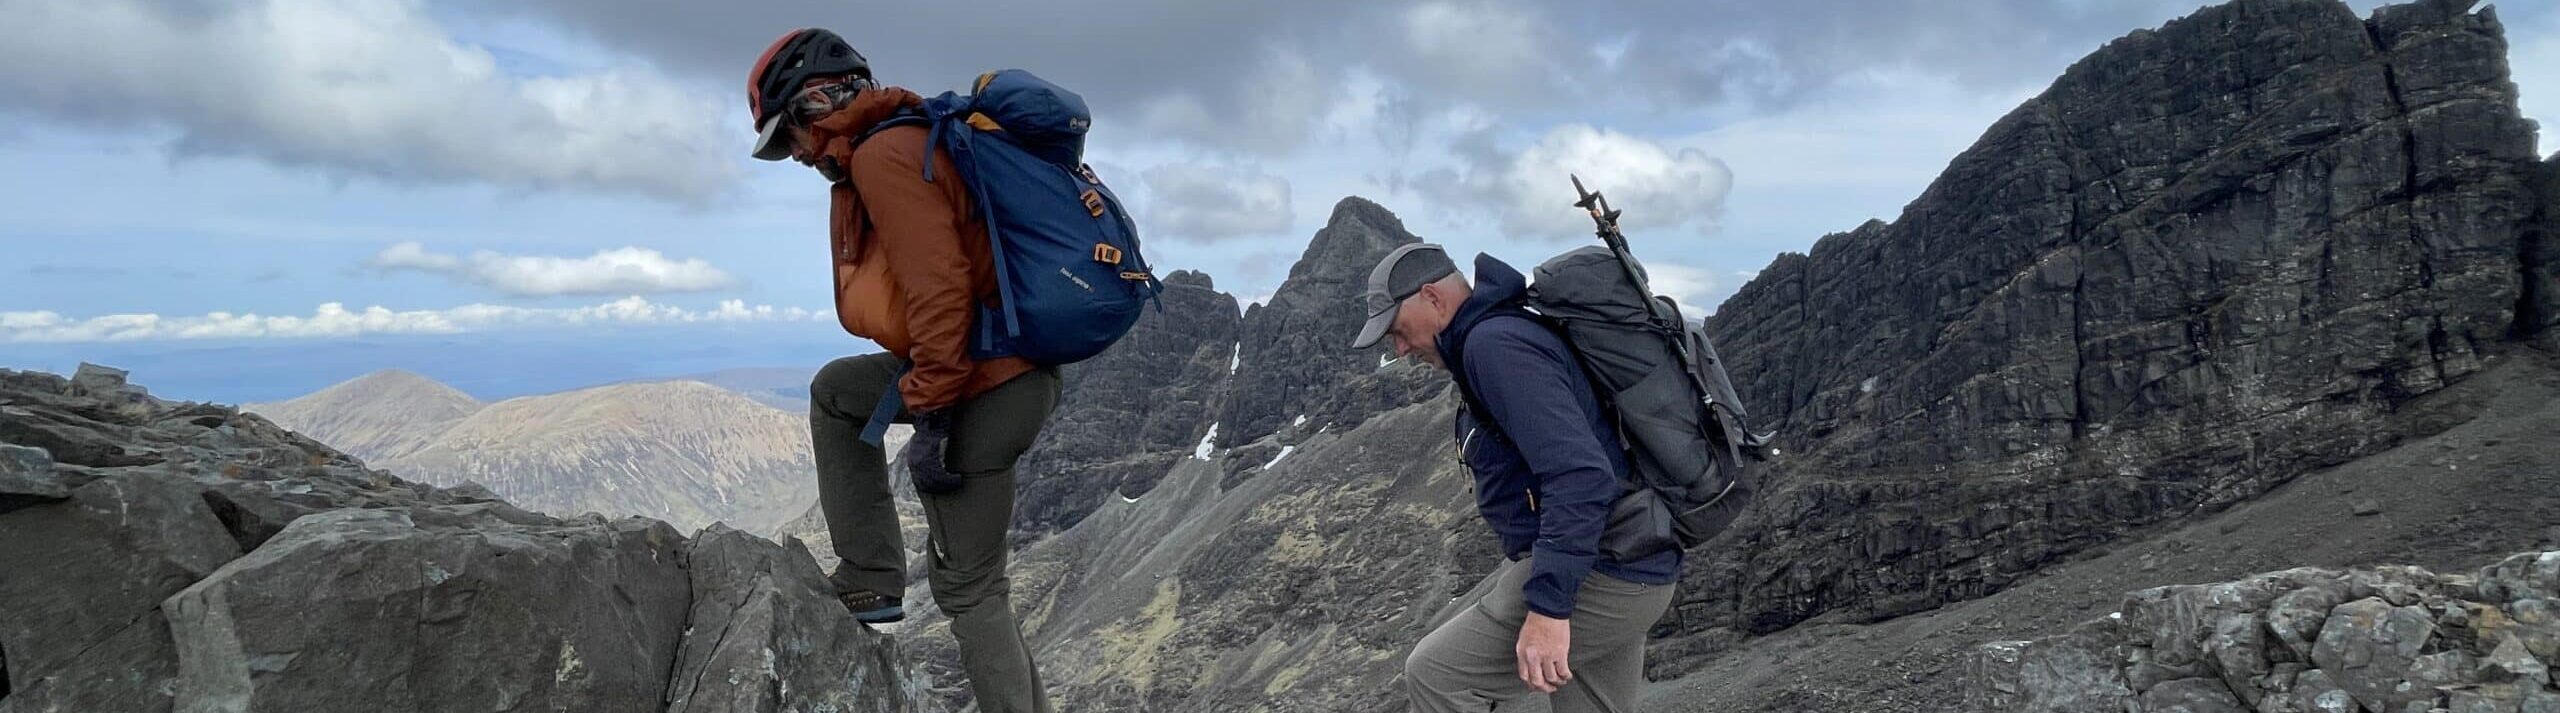
Being MCI-qualified allows me to be a member of the Association of Mountaineering Instructors, a professional body for MCI and WMCI holders. More importantly, it demonstrates that I am trained to operate safely across a wide range of mountain and climbing environments, technical mountaineering, rock climbing, and complex terrain where judgement is critical.
It isn’t about pushing limits recklessly. It’s about knowing when to move, when to adapt, and how to ensure safety while giving people the best mountain experience.
Why This Matters for You
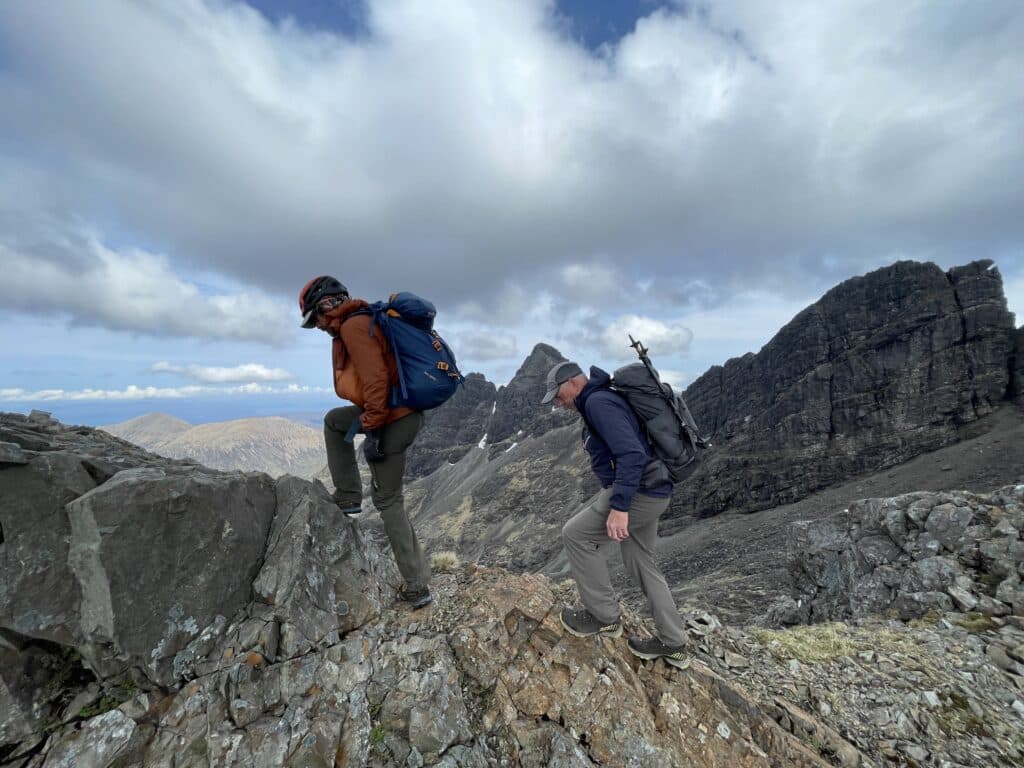
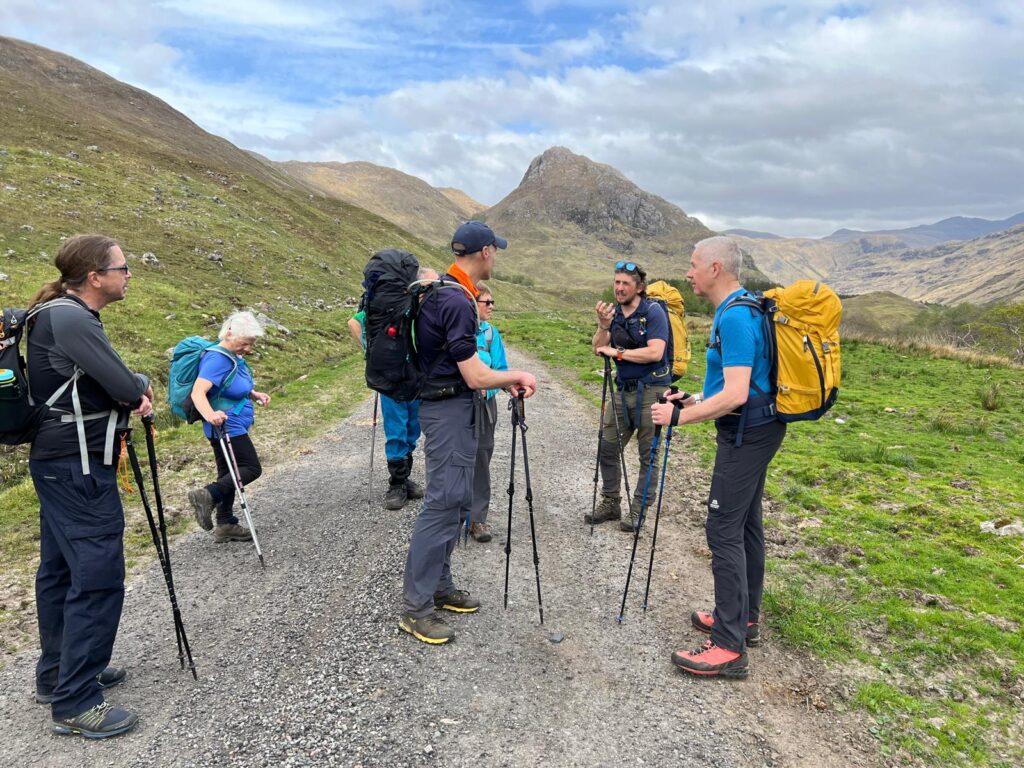
When you come on a course with Peak Outdoor, you’re not just learning techniques. You’re learning how to think and act in the mountains. Everything I teach is grounded in experience, good days, hard days, and situations where judgement really matters. The qualification doesn’t replace that experience, but it confirms it has been tested and held to a professional standard.

Final Thoughts
Becoming an MCI wasn’t the end of a journey. It was a way of ensuring the experience I’d gained could be shared responsibly and professionally with others. If you want to build your skills, confidence, and understanding in the hills (winter or otherwise) that’s what Peak Outdoor is here for.
Ready to take the next step?
Book a Peak Outdoor course and start building mountain skills with experienced, qualified instructors. Whether you’re new to the mountains or looking to sharpen your judgement, there’s a course for you.